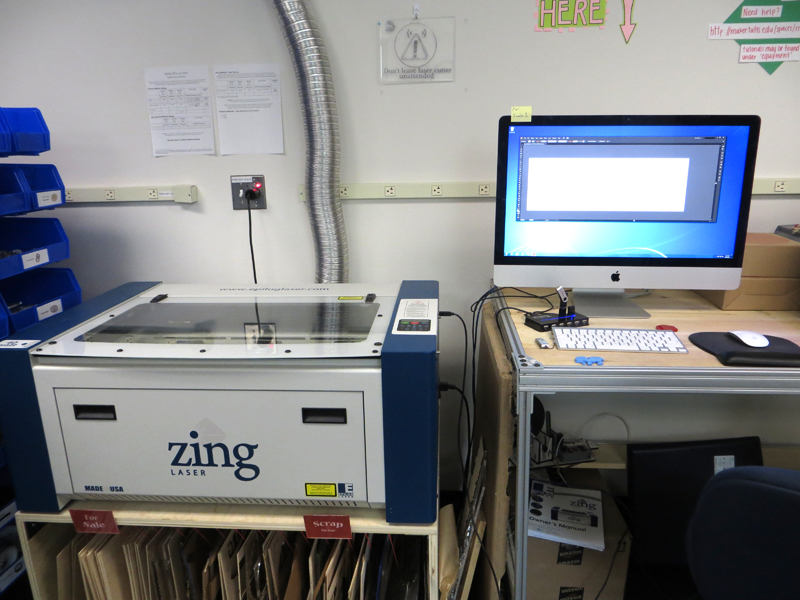
Laser Cutting
Epilog Zing Tutorial( docx)
Into to Adobe Illustrator for Lasercutting
Drawing Resources http://www.cutlasercut.com/resources/drawing-guidelines
GEARS
Drawing Gears in Inkscape
Wooden Gears http://woodgears.ca/gear_cutting/template.html
Vector Gears http://www.opengraphicdesign.com/art/vector-gears/
GearSket.ch http://www.gearsket.ch/
Preparing Images for Lasercutting- Part 1The lasercutter can etch vector-based images( SVG files).
1. Find a vector image on the Web( Search for Vector Images), or, better yet, draw your own black-and-white image. Image needs to be big enough.
2. Open the image using Adobe PhotoShop or PhotoShop Elements.
3. Convert the image to grayscale if a jpeg( Image---Mode---Grayscale).
4. Convert the Image to Bit-mapped( Image-Mode-Bit Mapped)
5. Save the image as yournameimage.bmp
Preparing Images for Lasercutting- Part 21. In Adobe Illustrator, open the bit-mapped image(.bmp) created in the previous section( File-Imagename-open).
2. Click on the Artboard icon at left and resize the Artboard to fit using the 'handles'; hit escape when done to de-select.
3. Select the Image ( Select--All).
4. Convert to Vector: Object--Image Trace-- Make and Expand.
5. Compound Path--Make.
6. Set Path Color:
a) Convert Outline Color to Black
b) Select RGB-- convert outline color to red.
c) Convert Fill Color to None.
d) Set Stroke Width to hairline.
e) Save as yourimage.svg
f) Show Grid
g) Select All
h) Object--Transform--Scale
i) Using Uniform- Percent--Scale to desired size
j) Save file as yourfilename.svg
Using the Lasercutter- Part 31. Turn on the PC computer, let it boot up( may take several minutes).
2. Log In using your Weston username and password.
3. Drag the files( SVG) onto the desktop from a flash drive or from Google Drive.
4. Launch the RetinaEngrave software.
5. Turn on the laser system and accessories using the wall switch; make sure chiller, blower, and compressor are on.
6. Once laser has completed booting up, in Retina Engrave, refresh connection in lower left, so you get the green words "connected".
7. Place the material to be etched on the honeycomb tray in the laser.
8. Go to mode "Fast Z"; use arrow keys to adjust focus Z so auto-focus tip is just above material. Make sure honeycomb is not hitting anything.Return to "Fast X-Y" mode.
9. On the laser control panel, push the mode switch( left-most switch) until the LCD screen says "Fast X-Y".
10. On the laser control panel, push the "Home" button( icon of a little house); laser should home to top right of print area.
11. Using the arrow keys, jog the laser to the correct position on your material.
12. Launch Corel Draw on computer; Open svg file.
13. Within Corel Draw, scale image to correct size.
14. Do "File-Print"- Select FS Laser Engineering Driver.
15. Open Retina Engrave--wait for file to open.
16. Select Raster Mode or Vector Mode.
17. Set Speed and laser power.
18. Push Perimeter button to insure image will be printed in the correct location.
19. Push Green Arrow on Retina Engrave; cutting/engraving should start.